
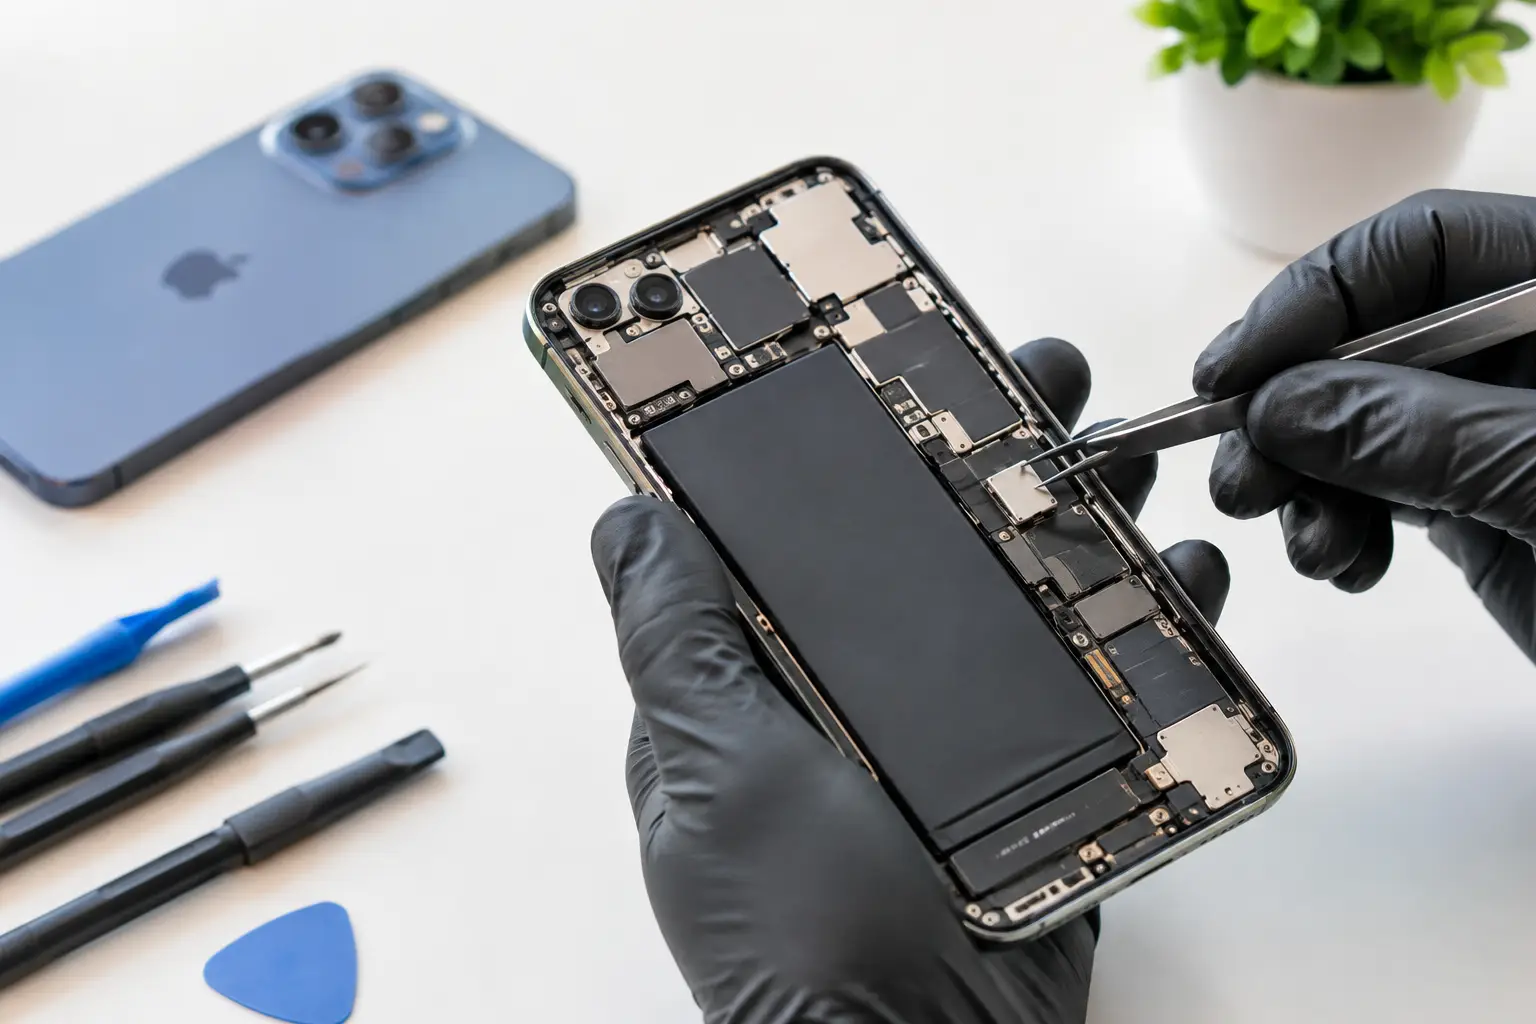
When someone says, “I can’t hear you,” the problem may be much smaller than a dead iPhone – but it still disrupts every call, meeting, voice memo, and video chat. iPhone microphone repair can often restore clear audio without the cost and hassle of replacing your phone. The key is finding out whether the issue is a blocked opening, a software setting, or a failed internal component.
How to Tell if Your iPhone Microphone Needs Repair
An iPhone has more than one microphone. Depending on the model and the feature you are using, your phone may use a microphone near the charging port, at the top of the device, or near the rear camera. That is why audio can sound fine in one app but fail during a phone call, FaceTime conversation, speakerphone call, or video recording.
Common signs of a microphone problem include callers saying your voice sounds muffled, distant, quiet, crackly, or completely silent. You may notice that Siri cannot understand you, voice memos record little or no sound, or videos have weak audio even though the picture looks normal. If your voice works on speakerphone but not on a regular call, that detail helps narrow down the cause.
A microphone issue does not always mean the microphone itself has failed. Dirt in the port area, a case covering an opening, Bluetooth routing, water exposure, and software problems can all create similar symptoms. A proper diagnosis saves time and prevents paying for the wrong repair.
Try These Quick Checks Before an iPhone Microphone Repair
A few simple checks can rule out common issues in minutes. First, remove your case and screen protector if either one overlaps an opening near the bottom edge, earpiece, or camera. Even a slightly misaligned case can affect sound pickup.
Next, inspect the microphone openings for pocket lint, makeup, dust, or debris. Use a clean, dry, soft-bristled brush and gentle pressure. Do not push metal tools, pins, compressed air, or liquid into the openings. Those methods can damage delicate mesh, force debris farther inside, or create a bigger repair.
Then test the microphone in more than one place. Record a short voice memo, make a phone call, switch to speakerphone, and record video with both the front and rear cameras. If audio fails only in one test, share that information with a technician. It can point to a specific microphone or related component.
Also check whether Bluetooth is connected. Your iPhone may be trying to use a vehicle system, earbuds, smartwatch, or other paired accessory as its audio source. Turn Bluetooth off temporarily and test again. Restarting the phone and installing available iOS updates can also resolve occasional software-related audio glitches.
If the issue started immediately after a drop, exposure to rain, a spill, or charging trouble, skip the guesswork. Physical or liquid damage may affect more than the microphone, and continued use can make corrosion or charging-port damage worse.
When Cleaning Will Not Solve the Problem
A clear microphone opening does not guarantee that the internal part is working. The microphone may be damaged by impact, moisture, worn charging-port components, or a failed flex cable. On some iPhone models, the lower microphone is tied to the charging-port assembly, so a repair may involve replacing that assembly rather than swapping one tiny standalone part.
That is why repair pricing and turnaround can vary by model and diagnosis. A technician should test the right functions before recommending work, not simply replace parts based on one symptom.
What Causes iPhone Microphone Problems?
Everyday use is the most common reason for blocked audio. Phones spend a lot of time in pockets, purses, cup holders, backpacks, and on kitchen counters. Fine lint and debris gradually collect around openings, especially near the charging port.
Drops are another frequent cause. Even if the screen stays intact, an impact can loosen a connection or damage a small internal component. Water is more complicated. Newer iPhones have water-resistance features, but water resistance is not permanent or a guarantee against damage. A worn seal, a hard drop, steam, saltwater, or a charging port exposed to moisture can lead to audio problems later.
Sometimes the microphone is not the real issue. A damaged charging port, malfunctioning speaker, software conflict, or Bluetooth setting can make it seem like your phone is not picking up your voice. Free diagnostics are valuable here because they separate a repairable hardware issue from a setting or software problem.
What Professional iPhone Microphone Repair Looks Like
A good repair starts with testing, not assumptions. A technician should check call audio, speakerphone, voice memos, camera recording, Siri input, charging behavior, and visible signs of damage. Those tests help identify which microphone is affected and whether another component is involved.
Once the issue is confirmed, the repair depends on your iPhone model and the source of the failure. It may involve cleaning and restoring a blocked area, repairing a damaged connection, or replacing a related component such as the charging-port assembly. Quality replacement parts matter because audio issues can return when low-grade components are used.
At Mr. Mobile, customers can bring in an iPhone for a free diagnostic evaluation before deciding how to proceed. Many common repairs are completed the same day, often within 30 to 60 minutes, depending on the device and repair needed. That means less time without the phone you use for work calls, school updates, family coordination, and everyday life.
Professional repair also protects against a costly mistake. Opening an iPhone without the right tools or experience can damage the display, battery, charging components, seals, or nearby cables. A do-it-yourself repair may look less expensive at first, but it can become a larger repair if something tears or breaks during disassembly.
Should You Repair the Microphone or Replace the iPhone?
For a newer iPhone with a good screen, healthy battery, and no major damage, microphone repair is usually the practical choice. It costs less than replacing the device and keeps your apps, photos, contacts, and familiar setup in place.
Replacement may make more sense when the phone has several expensive problems at once, such as serious liquid damage, a failing battery, a cracked screen, charging trouble, and microphone failure. In that situation, compare the total repair cost with the value of a certified pre-owned unlocked iPhone. A knowledgeable technician can help you make that decision without pressuring you into the most expensive option.
Before handing over your phone for any repair, back it up if possible and make sure you know your passcode. If the microphone problem prevents you from completing a backup, tell the repair team. They can explain the best next step based on the phone’s condition.
Keep Your iPhone Audio Clear After Repair
Use a case that fits your exact iPhone model and does not cover microphone openings. Clean the outside of the phone regularly with a dry, soft brush, and avoid storing it where moisture and debris collect. If the phone gets wet, disconnect accessories, avoid charging it until it is dry, and have it checked if audio changes afterward.
Clear calls should not be something you have to work around. If your voice is cutting out, sounding muffled, or not being heard at all, a quick diagnostic can turn an everyday frustration back into a working phone – often without the expense of starting over with a replacement device.