
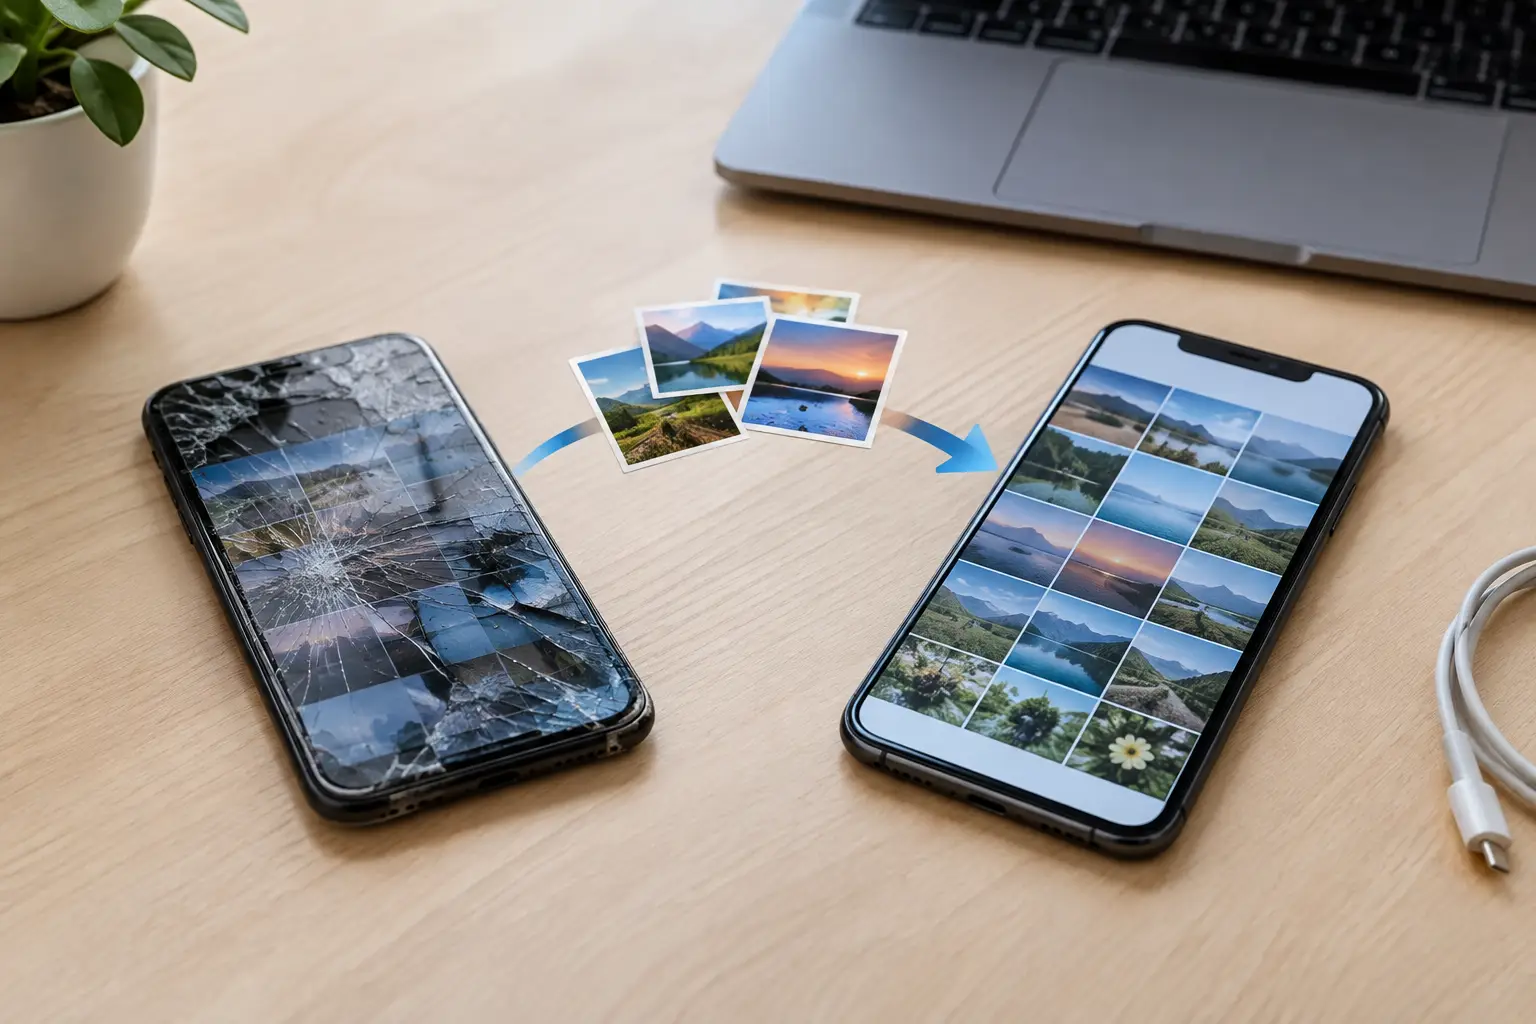
That cracked screen may be frustrating, but it does not always mean your photos are gone. If you need to transfer photos from broken phone storage, the right next step depends on one thing: Is the phone still powering on and unlocking? A device with a damaged display often holds perfectly healthy data. A phone that will not turn on needs a more careful approach.
Before trying random cables, apps, or reset options, pause. Your photos are usually safest when the original phone is left powered off or connected to a charger until you know what is wrong. The goal is to access the device without making the damage worse or erasing the files you want to save.
Start by Checking for a Backup
The fastest recovery may already be waiting in your cloud account. Many phones automatically upload photos when they are connected to Wi-Fi and charging, even if the owner did not intentionally set up a backup.
For an iPhone, check iCloud Photos from another Apple device or a computer signed into the same Apple Account. You may also find photos in a Google Photos, OneDrive, Dropbox, or Amazon Photos account if you used one of those services.
For Android phones, start with Google Photos. Sign in using the same Google account used on the damaged phone and check the library, archive, and trash folders. Samsung owners should also check OneDrive if Gallery sync was enabled. A backup can save you a repair visit, but do not assume every recent photo made it to the cloud. Photos taken shortly before the damage may still exist only on the phone.
If the Phone Turns On but the Screen Is Broken
A black, flickering, or unresponsive screen is one of the most recoverable situations. If the phone vibrates, rings, receives notifications, or makes charging sounds, its internal storage may be fine. You simply need a safe way to unlock it and approve the transfer.
Use a Computer if You Can Unlock the Phone
Connect the phone to a trusted computer with a quality data cable, not a charge-only cable. On an unlocked Android phone, you may need to select a USB setting such as File Transfer. Then browse the phone’s DCIM and Pictures folders to copy photos to the computer.
An iPhone can import photos to a Mac or Windows PC, but it must usually be unlocked and set to trust that computer first. If you previously trusted the computer, this process may be straightforward. If not, a nonworking display creates a roadblock because Apple requires approval on the phone for privacy and security.
Do not keep unplugging and reconnecting the phone if it is repeatedly disconnecting. That can point to battery, charging port, cable, or board damage, and repeated attempts may drain a fragile battery.
Connect an External Display or Mouse
Some Android phones support video output through USB-C. With the right adapter, a monitor or TV may show the phone’s screen, letting you unlock it and copy files. A USB mouse can also help if the screen displays an image but touch input no longer works.
This option depends on the phone model. Not every Android device supports video output, and some phones need to be unlocked before an external display will work. It is useful when it works, but it is not a universal fix.
For iPhones, display output options are more limited, and you still need to enter the passcode on the device. If the screen is completely black, a temporary screen repair is often the quicker and more reliable path to your photos.
A Screen Repair Can Be Data Recovery
Replacing a damaged screen does not normally erase your phone. In many cases, it is the simplest way to regain access to the photos, messages, contacts, and apps already stored on the device. Once the phone is usable again, you can back everything up properly before deciding whether to keep, sell, or replace it.
That matters because modern phones encrypt their storage. A technician cannot simply remove a memory chip and browse your camera roll. Your passcode and a working phone are often the key to your own data.
If the Phone Will Not Turn On
A phone that appears dead is more complicated, but not hopeless. First, charge it with a known-good cable and wall adapter for at least 30 minutes. Try a different outlet, then look for signs of life: warmth, vibration, notification sounds, a charging icon, or a computer detecting a connected device.
A drained or failed battery can make a phone look completely dead. So can a damaged charging port, broken screen, liquid exposure, or internal component failure. The photo recovery method has to match the real problem.
Avoid these common mistakes:
- Do not factory reset the phone. A reset can permanently remove photos that were not backed up.
- Do not keep forcing restarts if the phone is hot, swollen, smells unusual, or was exposed to water.
- Do not install unfamiliar recovery software that asks for your phone passcode or cloud account credentials.
- Do not assume moving a SIM card to another phone will move your photos. Photos are stored in the phone’s internal memory or a separate SD card, not on the SIM.
If the phone has an SD card, power it down, remove the card carefully, and check it with a card reader. Some Android cameras save photos directly to removable storage. If the card is encrypted, though, it may only be readable through the original phone.
Why a Professional Diagnosis Helps
When a phone cannot boot, professional repair is often the practical first step for photo recovery. Restoring power, replacing a failed battery, repairing a charging port, or installing a working display can give you the access needed to back up your photos yourself.
Be clear about your priority when you bring in the device: you want the data preserved. A good technician should diagnose the issue before recommending a repair and explain whether the repair is likely to restore access. At Mr. Mobile, customers can get a free diagnostic evaluation before deciding on the next step, which is especially helpful when family photos or work images are on the line.
There are limits. Severe water damage, a failed storage chip, or major motherboard damage may require specialized data recovery work. Even then, success is not guaranteed because of device encryption. Anyone promising guaranteed recovery from every dead phone should be treated cautiously.
How to Protect Photos Once You Get Them Back
When you regain access, do not stop after copying photos to one computer. Keep at least two copies in different places, such as your computer and a cloud photo service. If your phone supports it, turn on automatic photo backup over Wi-Fi and confirm that it is actually uploading recent images.
It is also smart to test your backup before trading in, selling, or recycling a device. Open a few recent photos from another device. Check videos too, since they take more storage and may not upload when cloud space is full.
If you plan to repair the phone only long enough to save your data, make the backup your first task after it turns on. A repaired phone can be a dependable daily device, but if you are ready to move on, transferring your photos first gives you more choices and less stress.
Your phone may be broken, but the memories on it do not have to be lost. Start with backups, avoid any option that could erase the device, and get the hardware checked when a working screen or power repair is the missing piece.